Google Maps is one of the most powerful tools of the gigantic Californian company. Not only because it allows us to travel the world, investigate unknown places and even walk the streets of almost any city in the world with just a few clicks. But beyond being a tool to navigate, Google Maps has a series of added features and functions that allow us to work with the immense gallery of Google maps. A series of options ranging from offline navigation (very useful for when we go on vacation abroad and not consume data) to the creation of custom maps. An infinity of possibilities to create routes through the mountains, to the creation of a map with those points of interest in a city that we plan to visit. Today we leave you a small guide with which to get started in the world of personalized Google Maps maps.
With Google My Maps
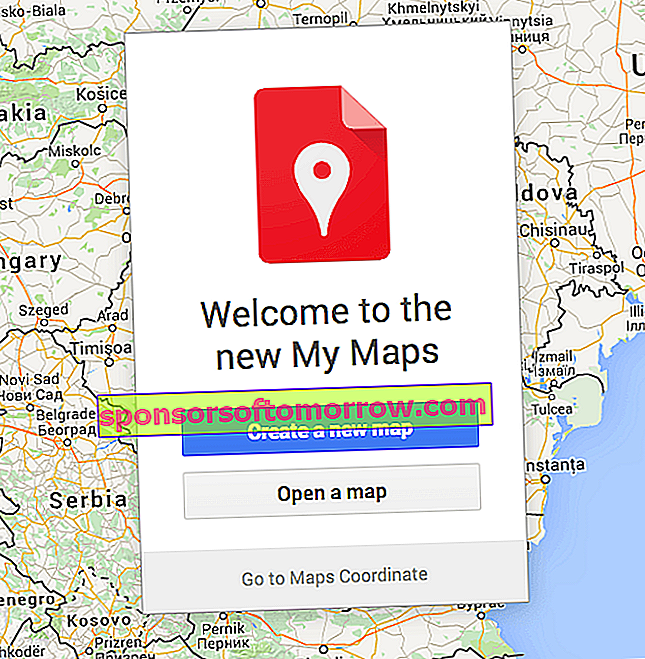
A tool added to the daily use of Google Maps is the My Maps application. As its own name foreshadows, it is the part of Google maps dedicated to the personal part of them . To use this service, it is only necessary to have a Gmail email address (as with the rest of the services of the American company). There are two basic ways to access My Maps. The first is by typing "My Maps" in Google and entering the first option that appears indexed and that responds to the url of www.google.com/mymaps.
If you want to access from Google Maps itself, you just have to follow the route -> Left menu -> Your places -> Maps . It is here where in the lower part of the left side submenu it offers us the possibility of "Create Map". At this time a new tab will not open by default with the manager that we can see in the screenshot.
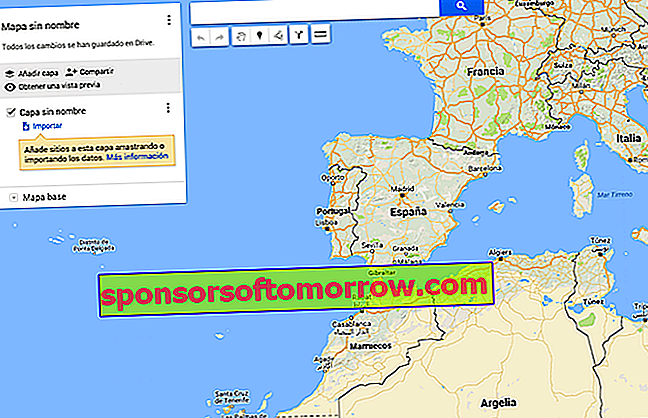
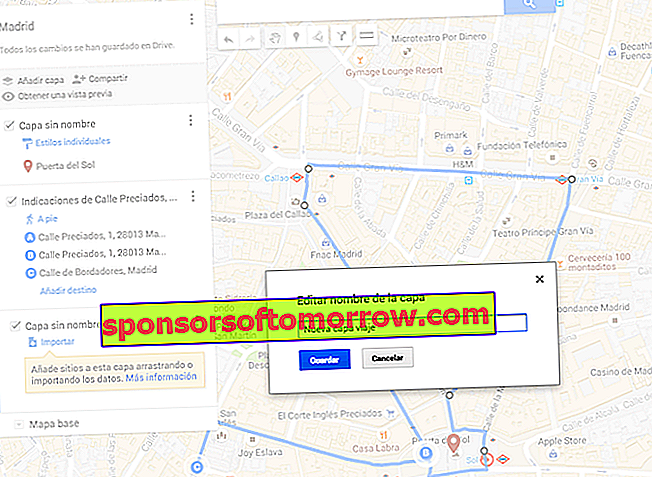
By clicking on "Map without a name" we can baptize the map as well as add a short description of it. From this moment we can start adding places to our map. Not only that, you can also add both urban and rural routes, as well as accurately measure the distances and slopes of the road.
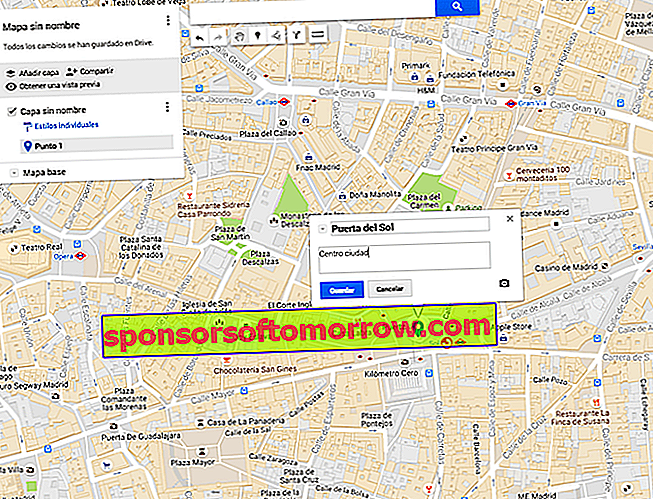
At the top of the screen we find two icons that will be the basic ones to create our personalized maps. The first is the location pointer. Pressing it places it in the center of the map, from where you can move it to place it at the desired point. Once located in the precise address (we can use the search bar to directly indicate the exact position). Here a small editor opens in which we can put the name we want, add descriptions and edit the color of the pointer. A very interesting option to differentiate with the naked eye during a tripFor example, museum restaurants or points of interest. In the same way, it allows us in that same editor to point out routes on how to get to that location and even add photos or videos of the place.
Routes
Another of the great possibilities of the Google My Maps tool is the possibility of creating routes both for exploring the city by car, on foot or by bicycle. Or even the ability to draw lines in order to mark specific areas. To do this, we have to press the button at the top of the screen that joins three points two lines (the one right next to the one we have indicated in the previous section). As soon as you press it, it will not indicate what type of map we want to make and it will be added as a new layer in the manager on the left side of the screen.
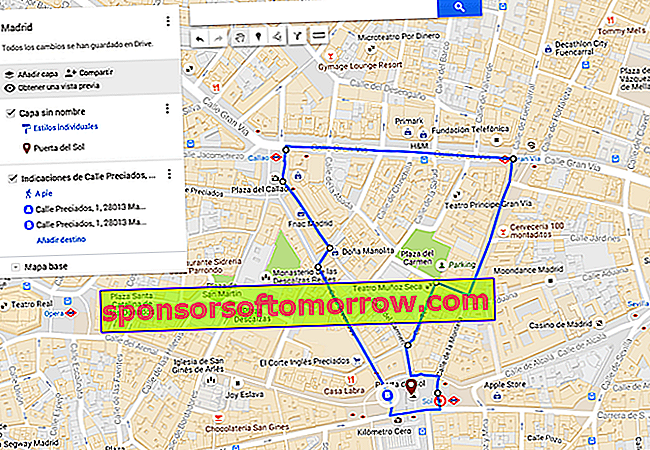
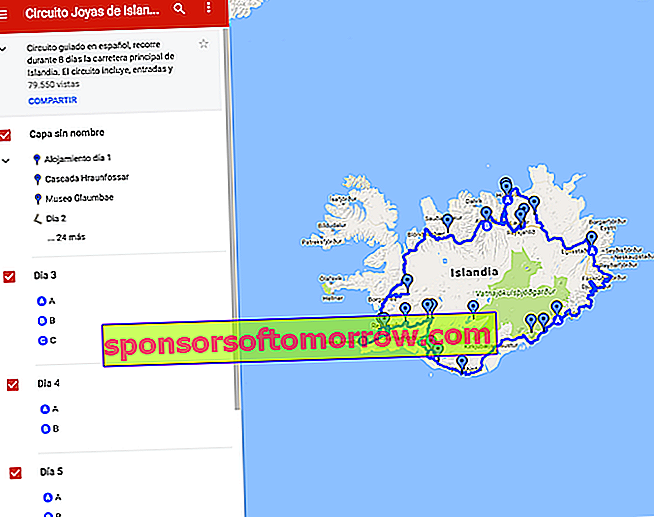
In the menu on the left, the path that you have been indicating to My Maps is automatically added . You can do it in the form of the tool that automatically indicates the most efficient path or by marking your exact path by clicking on each turn and leaving a white landmark on the map. Once the circuit is closed, it appears in the menu. By clicking on the three vertical points of the box in question, we can access high added value functions such as a series of detailed indications on precise distances. An ideal application for those who tend to get disoriented in new places.
If in this same box we click on the option "Add destination", we can add points automatically by simply indicating the address in the mini search engine that opens in that box without having to drag the cursor across the screen. Something that can end up being slightly tedious when we create very long routes or roads by car on long roads.
The usefulness of layers
As you can see, at all times we can see an option that tells us "Add layer" . The function of this section is basically to create how many objects, places or destinations we want on a single map without the need to over-saturate it with information. Making both its readability on a smartphone and its handling complicated.
For this reason it is very useful that for each thing you create a layer. For example, if you plan to go to two restaurants, create a layer with the name "Restaurants", memorize the two places on the map and activate them only when you intend to go there. You can do the same with the routes. It is recommended that each specific path be designed on its own layer. This will allow you to view each one separately, keeping the My Maps interface clean when it comes to following the directions.
Creating new layers is as simple as "Add layer", give it a name and start working with it in the left hand manager, either to mark points, create routes or both.
Share, collaborate or show
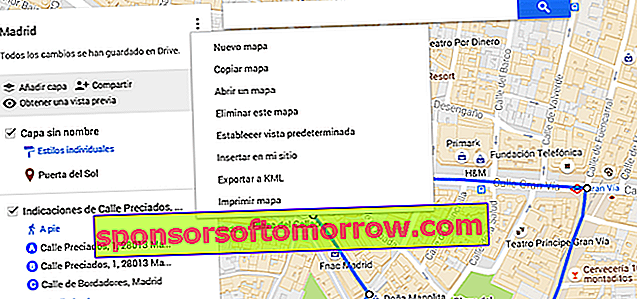
From here we can do with our map any type of management that we want. From printing it on paper to inserting it on our blog to sharing it on social networks. But the Google My Maps option allows us through its own tools to share the map with the contacts that we select and that they can also edit the map. For the latter, you just have to click on the "Share" option and choose in the editor who and what accesses they have to it.
Once you have finished the map, My Maps carries out an automatic save through Drive from which you can consult the map at any time through its services. In addition, in the Play Store , My Maps has a specific application both to open the map and to edit it from your phone or tablet.
Save maps of others
Another function of My Maps is that it works as a kind of social network for maps in which you can save your favorites and access them just by entering the application. Here you will find them differentiated according to their authorship. In addition to managing our maps and those saved, tan offers us the possibility through the "Explore" tab for some of the most prominent maps of the moment made by other users of the service.