
Adobe Photoshop has become an essential tool for many professionals and amateurs of photography. It is such a powerful program that it allows you to modify images to such an extent that they can look completely different after editing . However, the number of options it provides can make it extremely complex for the average user.
Therefore, it does not hurt to know some useful tips that will facilitate its use. Here are our 10 favorite tips for Photoshop .
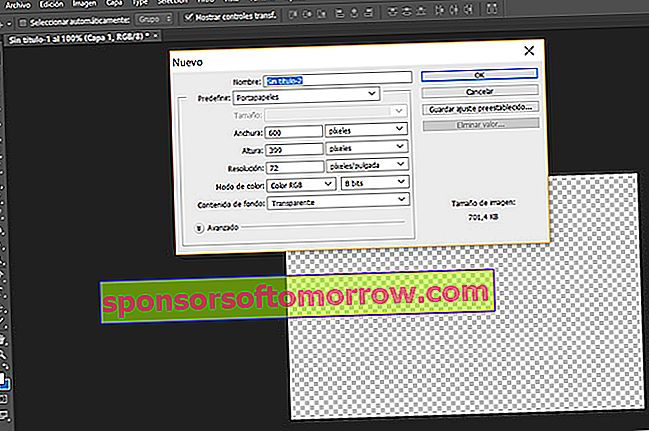
Canvas size
Sometimes we need a certain image size to insert them into different websites or documents. If you don't know the measurements, but you do have a reference on the web, you can get the exact size with Photoshop . You will only have to copy the reference photograph and go to File / New. The measurements of the snapshot that you automatically copied will appear in the new canvas box. Once created, you can paste any image that you need to resize.
This trick for Photoshop, in addition to making it easier for you to access unknown measurements, will also speed up your work. You will only need to copy the reference image and open the canvas again to have the exact measurements . This way, you won't have to enter them one by one manually.

Camera RAW
Fans of photography from a certain route will be well aware of the advantages of the RAW format. It is a type of file that contains all the data captured by the camera's sensor. This means that, when editing the parameters of the photograph, it does not lose quality . Of course, these images weigh much more than those captured in JPG format.
Adobe Photoshop has a special editor for this format called Camera RAW. This allows you to edit the parameters of a snapshot in a faster and easier way than in JPG, and offers a more optimal result .
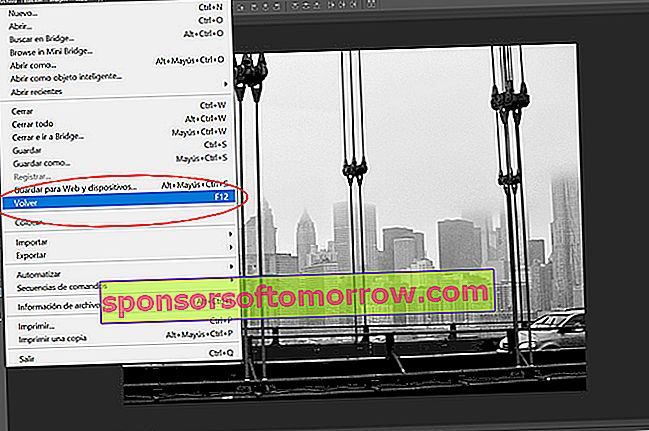
Undo all edit
There are times when you start editing and you like the result less and less. In order not to abuse Ctrl + Z or close the image and reopen it, Adobe Photoshop has an option to undo all modifications at once. You can use it by going to File / Return or by pressing F12 directly . But think about it before using this tool, because you will lose all progress and you will return to the initial image.
Correct imperfections
This is one of the most popular tricks for Adobe Photoshop. With it you can correct pimples, spots or wounds . It is very simple to use. You must go to the left tools menu and select the plaster called ”˜Potted Healing Brush Tool” ™. Once selected, you must set a smooth reference point with the Ctrl key. Then you just have to click on the imperfection you want to remove.
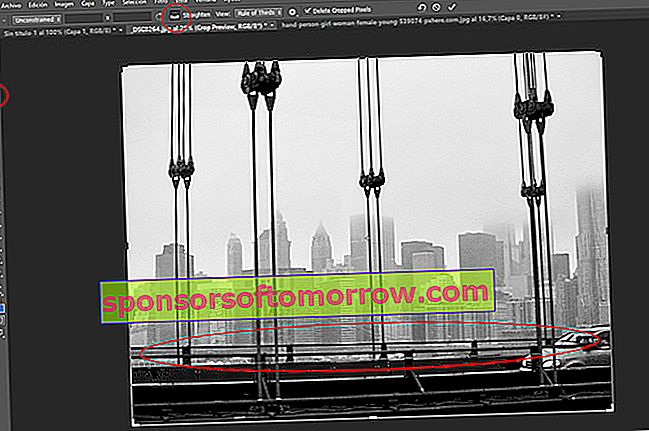
Fix bent images
Many times we are faced with crooked images. To straighten them we can choose to do it manually and by eye, with the Crop tool from the left menu. If we choose this option must click on the corners and rotate the photo until you consider that it is corrected.
However, there is a much more effective and simple trick. Once you have selected the Crop button, in the top menu you will find a tab called ”˜straighten” ™. This will allow us to draw a line on the line that we will take as a reference to straighten the image . Once traced, that line that we have drawn will be aligned in parallel with the lower margin of the photograph. In this way, the skewed snapshot will be automatically corrected.
Selective blur
If we want to blur only a part of the photo that we are editing, we can use the Blur iris tool . To use this trick for Adobe Photoshop, go to the Filters tab in the top menu. Then click on Blur / Defocus iris. A circle will appear on the image, delimiting the part of the image that remains in focus.
To better adjust the area that we want to blur, we can deform that circle. We can also add focus points and distribute them throughout the photo to refine the selective blur .
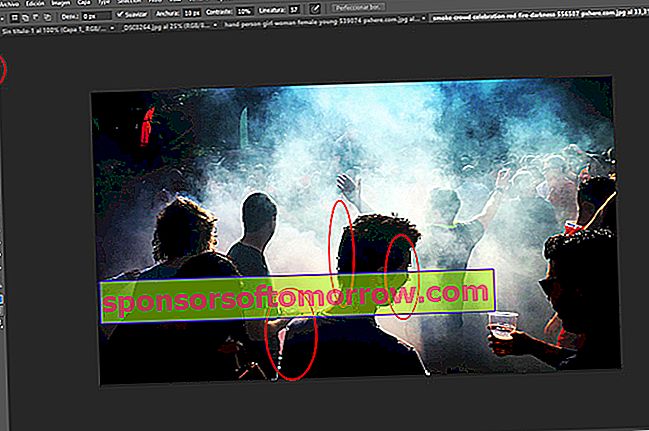
Magnetic loop
There are times when we will have to select an object in the photograph for different reasons. For this we will use the Lasso tool. However, this can be inaccurate, especially if we do not have a bomb-proof pulse . That is why it is very important that you know the Magnetic Loop.
It is a tool that detects the edges of the object you want to select and automatically traces the selection while you roughly hover the cursor over the limits of the element .
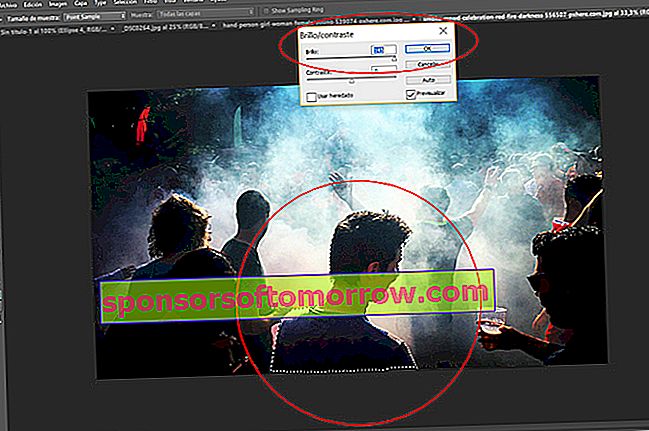
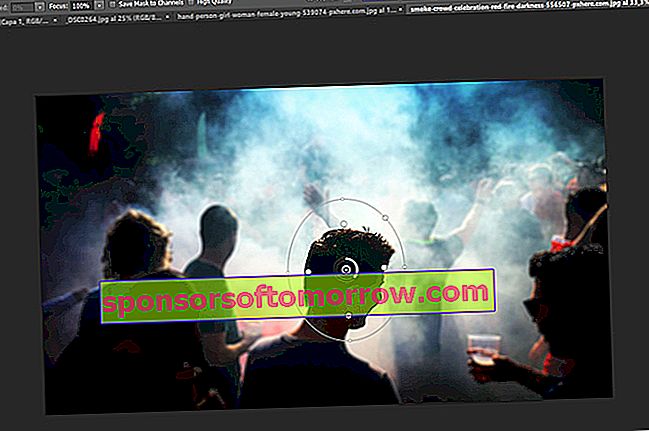
Change the parameters of a photo element
Leveraging the trick to previous Photoshop, we can change the parameters of a single object photography . Once you have selected the element with the Magnetic Lasso, you can apply the modification you want. For example, if one of the components of the image has been dark and the rest is well lit, we can selectively increase the brightness. This way you will get everything to have the light you want.
Automate settings
If you want to edit multiple images with the same settings, you can automate the process. With this trick you will save a lot of time and work. To carry it out, go to the play button in the upper right . Then select the button ”˜Create new action” ™, which is shaped like a folded sheet. Once this is done, the edits you make will begin to be recorded.
Whatever modification you make, it is very important that the last actions of the recording are ”˜Save as” ™ and ”˜Close” ™ . If you do not do this, the process will be stopped in the first image you edit, as it will be necessary to close one to open another. Once the recording is finished, press the stop button in the Actions box.
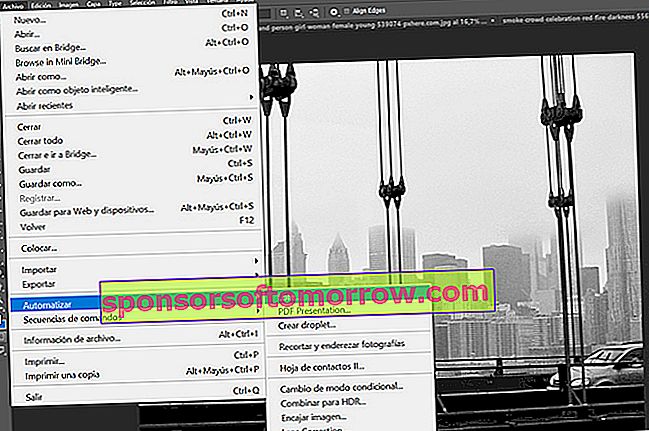
After recording the action you want to automate, go to File / Automate / Batch and select the recording you want to apply , the source folder of the photos to be modified and the destination file for the new images.
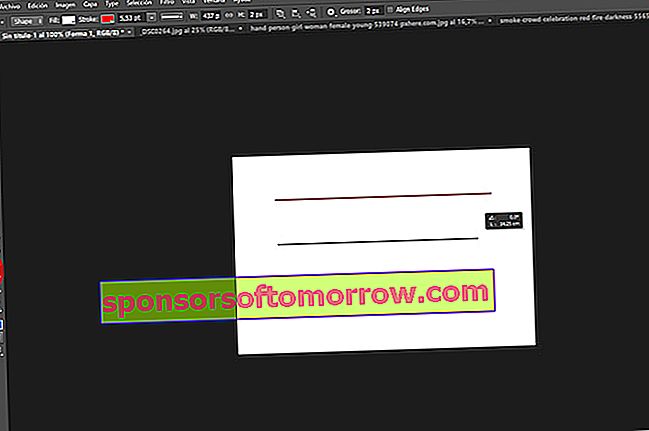
Draw a straight line
Sometimes drawing a straight line with the mouse is a real ordeal. But don't worry, there is a trick that will make this task easier for you. With the Line tool selected, start drawing it and press the Shift key . You will see how your line does not deviate a single millimeter.